Learn how to upgrade to newer versions of QuickBooks Desktop Pro Plus, Premier Plus, or Enterprise:
QuickBooks is the no.1 accounting software serving all types of business owners all over the world. QuickBooks serves its customers with the best of its tools and services. It provides a great platform for Bookkeeping and maintaining all your business accounts. QuickBooks always comes with new features and diverse versions. It is an excellent tool suitable for all types of business proprietors either it is small, large or medium-sized.
In this article, we will talk about the method to Upgrade QuickBooks desktop to the latest version. It is more suitable for small and medium-sized businesses and those who have a product-based business that has complex inventory tracking. These kinds of enterprises are advised to install the QuickBooks Desktop.
Read Also: How to access QuickBooks desktop remotely?
Easiest Way to Upgrade the QuickBooks
Given below are the steps to upgrade the QuickBooks Enterprises directly and more quickly. Now, you don’t need to download the software and update company file, you just have to follow the Easy steps given below:
- When you will launch the QuickBooks, you will get the prompts to upgrade the software.
- Select the option ‘Upgrade Now‘.
- Tick ‘Keep old version on my computer‘ box if you prefer to have both old and new QuickBooks versions.
- Now, the process of Upgradation will begin.
- Lastly, open the QuickBooks.
Steps to Update your QuickBooks Desktop Company file
Checkout the easiest ways to update your QuickBooks company file:
Step 1: Download and Install the new QuickBooks
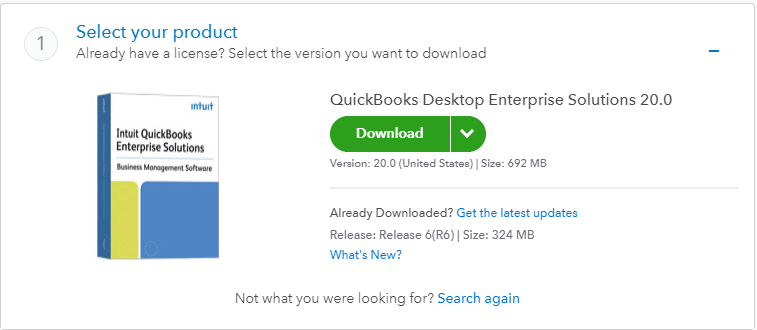
- First, download the QuickBooks desktop and save the file in your system.
- Open the file and fill up the required information.
- Install the QuickBooks Desktop.
- At last, QuickBooks will ask you to activate the QuickBooks desktop so click on ‘Activate‘.
See Also: How to solve QuickBooks error 1016?
Step 2: Prepare the QuickBooks file for update
- Press ‘F2’ on your keyboard and find your file’s exact location under “File Information“.
- Save a backup copy on a flash drive and then restore it to your computer.
- Operate the Rebuild tool before upgrading to avoid data issues during file conversion.
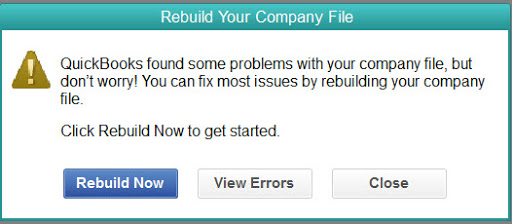
- After upgrading, move your file back to the same folder location on the server computer.
Step 3: Now, update the QuickBooks Company file
- Make sure every user is logged out of the company file.
- Select Open or Restore Company from the File menu.
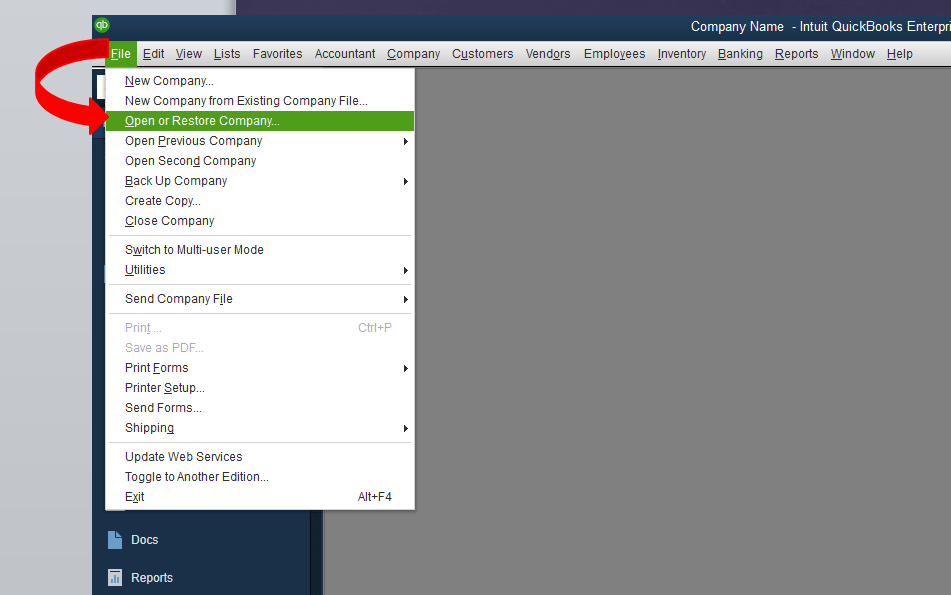
- Select ‘Open a company file or Restore a backup copy’.
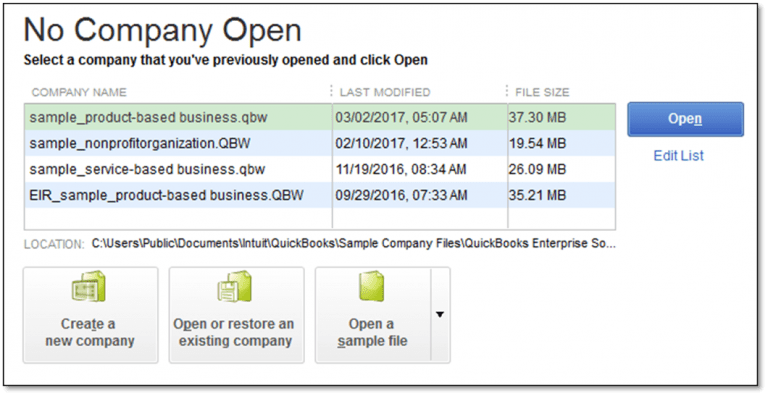
- Find and open your company file.
- Log in as the company admin to update the company file.
- Select Update Now to proceed.
- Select ‘Done‘ once QuickBooks has updated your company file.
(Note: QuickBooks runs a full backup before updating your file. If you want to change where the backup will be saved, select Change this default location.)
Points to remember after updating your company file:
- Keep the backup you created in a safe location.
- Be sure to move your file back to the same folder location on the server computer.
- If you did not find the updated file, try to display hidden files and folders in Windows.
- Get the latest tax tables, security updates, and keep QuickBooks running at top performance.
- Turn on automatic updates to make the update easier.
You may also read: How to Troubleshoot the QuickBooks Error 6144?
Final words..!
These were the simple steps and procedures to upgrade the new QuickBooks Desktop version. This post also includes the method to update your QuickBooks company file. We hope that users will easily manage to follow the steps to complete the process efficiently. This post provides you the perfect procedure for Upgradation.
With this, we are ending up this article with a faith that you will display trust in QB and will follow the steps given in this post. For any other query or doubt, contact us on our QuickBooks premier support number i.e. +1-844-719-2859 and feel free to contact our team. We assure you the best services and solutions for your doubts.
