Easy Methods to Download and Install QuickBooks Install Diagnostic tool
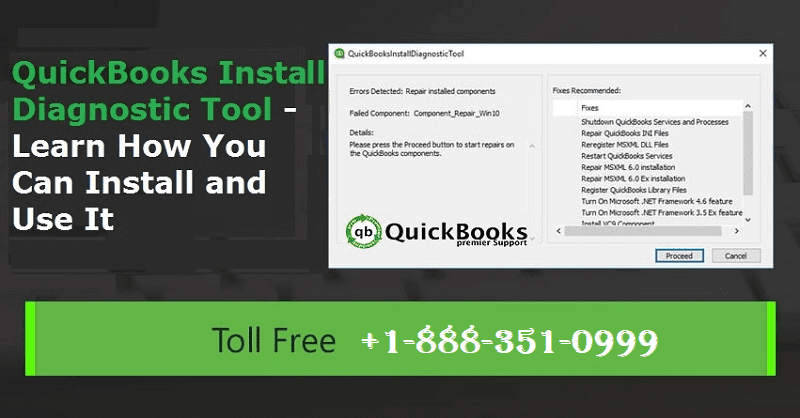
It’s little wonder why QuickBooks is a leading accounting software in the market. The makers keep introducing new features and tools to make it easy to safe, fast and easy to use. One really useful tool introduced in Intuit’s QuickBooks is QuickBooks Install Diagnostic Tool. It’s an efficient tool to diagnose and troubleshoot installation errors that occur during the installation of QuickBooks desktop. The diagnostic tool is equipped to manage and handle multiple issues that occur in C++, .NET framework or the MSXML.
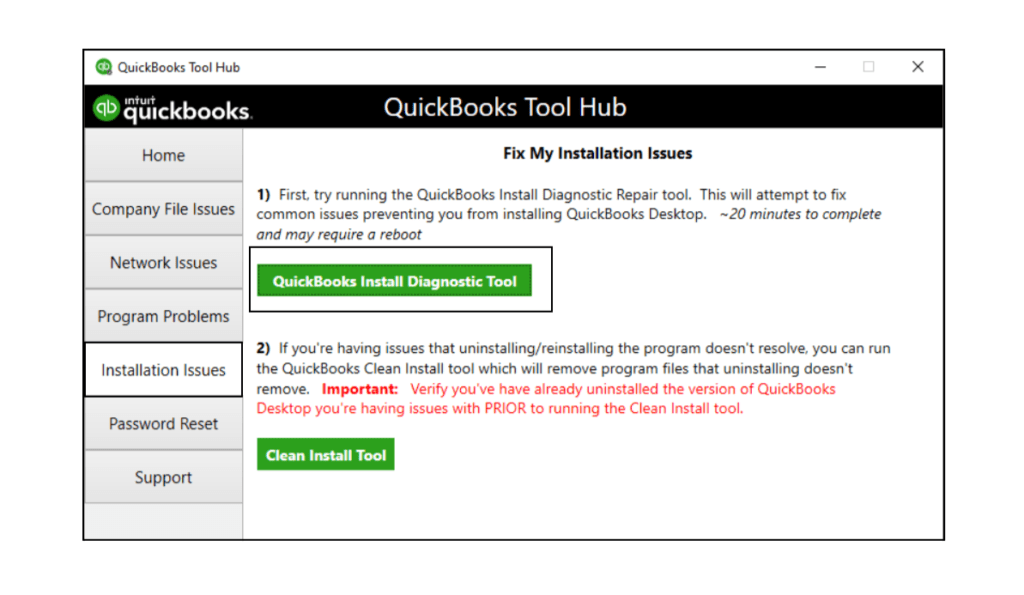
This diagnostic tool is a repair tool, designed to identify and fix the issue automatically. It helps you lower down the time to resolve the issue. Whenever you receive an error, you must first run QuickBooks install diagnostic tool trying any manual troubleshooting method to fix the issue.
Read this also: How to resolve QuickBooks error code 6150?
What is QuickBooks Install diagnostic tool?
QuickBooks Install Diagnostic Tool is designed in a way to diagnose, as well as fix the errors that might be encountered by the users while installing the QuickBooks software. For the proper functioning of the software, it requires many Microsoft core components, and without any proper functioning, managing the software can be next to impossible. This is where Install Diagnostic tool comes into play. It is always recommended to run the tool, before manually resolving the issues associated with QuickBooks. This tool can fix the issues with .NET Framework, C++, and MSXML. Downloading, installing, and using this tool will help to fix a lot of issues.
Errors that can be fixed by QuickBooks Install Diagnostic tool
- QuickBooks Error Code 1321
- QuickBooks Error Code 6000
- MSXML damage
- QuickBooks has stopped working error
- .NET Framework errors
- QuickBooks Error Code 1904
- QuickBooks Error Code 12029
- C++ related errors
- QuickBooks is not working error
- QuickBooks unrecoverable error
- QuickBooks Error Code 17337
Read Also: How to solve QuickBooks has Stopped Working or Not Responding Issues?
Steps to Install and Run QuickBooks Install Diagnostic Tool
Here is how you can install and use the robust diagnostic tool:
- Download QuickBooks Install Diagnostic Tool from Intuit’s official website and set-up file in your computer.
- Save the setup file on your desktop or wherever you prefer.
- Find the QuickBooksDesktopInstallDiagnosticTool.exe file on the system and click Run.
- After that, the next step is to click Yes, to agree to the license agreement.
- Restart your computer after the diagnosis is complete to ensure that all QuickBooks components are updated.
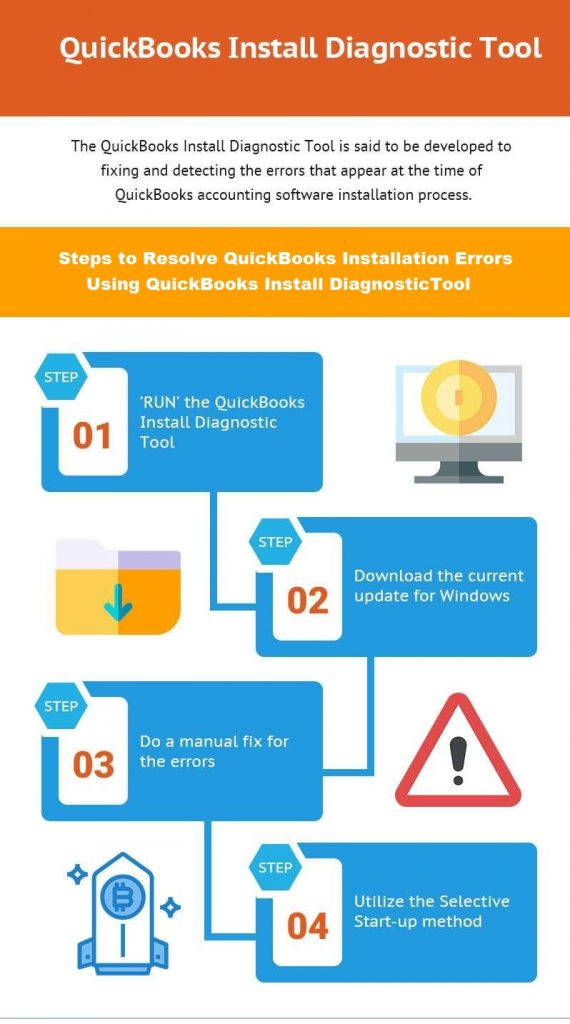
Checkout the following Info-graphic to understand how you can resolve QuickBooks installation errors using QBInstall diagnostic tool:
You might also like: How to Troubleshoot QuickBooks Error 15215?
Steps to fix QuickBooks Desktop Installation Errors
Here is how you can resolve any installation error.
Solution #1: First, run the QuickBooks Install Diagnostic Tool

After you run the diagnostic tool, restart your computer to ensure that QuickBooks components are updated appropriately.
Solution #2: Download the latest Windows updates
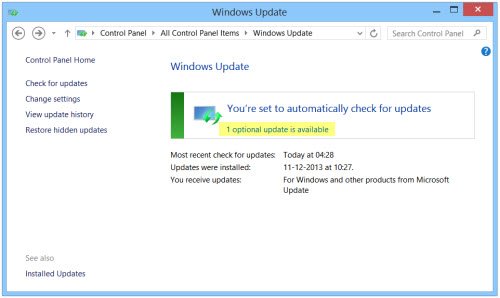
You can download the latest windows update from here. Once the download process completed, Install all updates and restart your computer.
Read it also: Steps to Resolve QuickBooks Error 12029?
Solution #3: Manually fix errors
On the off chance when QuickBooks Install Diagnostic Tool is unable to fix the issue you are facing, try troubleshooting the error manually.
Solution #4: Uninstall/ Install QuickBooks Desktop
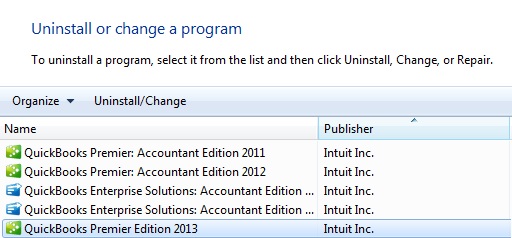
If you have exhausted all the methods to fix the issue you received, there may be an issue with your operating system or computer.
Important: You may be asked to reactivate or re-register QuickBooks Desktop after running the diagnostic tool.
In case the issue persists and there is an error, you should contact a QuickBooks desktop expert before it develops into an irreparable issue.
If you received an error while installing QB updates, run the QuickBooks Install Diagnostic Tool. You can also contact or find a certified proadvisor to get instant help.
Read Also: How to Fix QuickBooks Error Code 3371 like a Pro?
Steps to Fix Installation Errors with help of QB Install Diagnostic Tool
Here is how you can fix an installation error with QB Diagnostic Tool
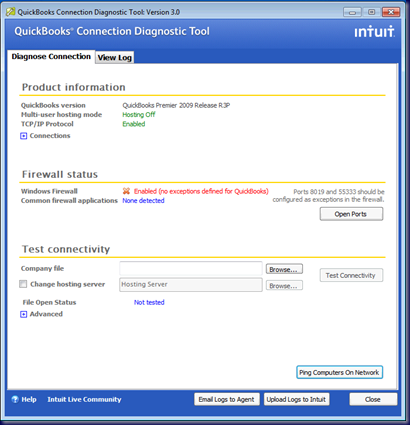
Step 1: Check and diagnose the Connection tab
The user can use this tab to examine the system, and in addition to that, the same tab will help the user in setting up the QuickBooks company data file.
Read Also: Methods to Update QuickBooks Desktop to the latest release
Step 2: Check the Firewall Status
Installing diagnostic tool provides the relevant information on the firewall status. The user can also take the required action, according to the information.

Step 3: Testing the connectivity
Testing the connectivity assists the users in analyzing the workstation connectivity.

Steps to Re-installing in a selective start-up mode
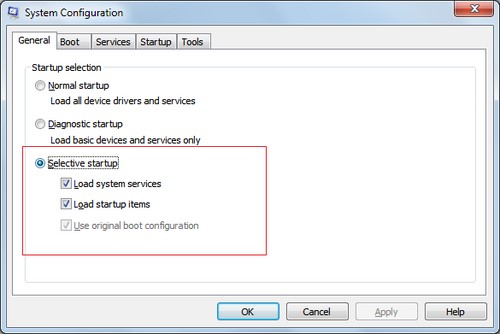
- Firstly, Start your computer in selective start-up mode.
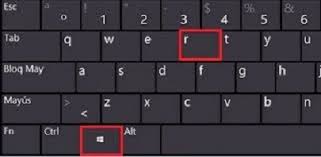
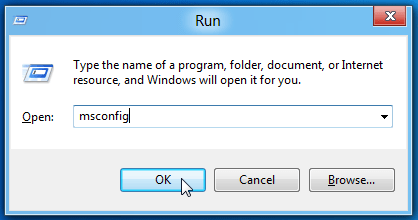
- Open Run command by pressing Windows and R keys together.
- In the box that appears before you, type ‘msconfig’ and click ‘OK‘.
- After that select the General Tab and then select ‘Hide all Microsoft Services.’
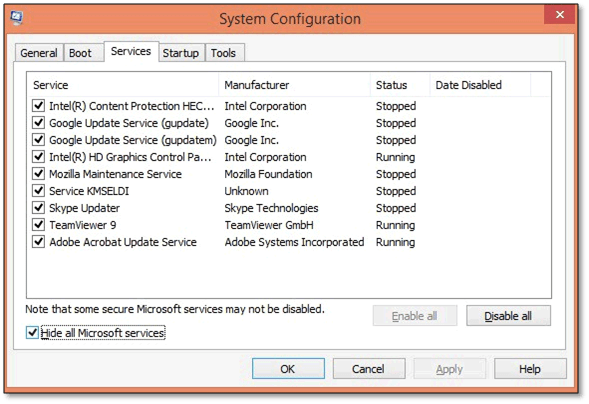
- Choose ‘Disable all’ option from the open tab.
- Next, unmark ‘Hide Microsoft services’ checkbox.
- Now check the ‘list of services’ and select the ‘Windows Installer checkbox.’ Ensure to check this box and press ‘OK‘.
- Go to system configuration and select ‘Restart’ and that would restore your computer to its ‘Normal Configuration.’
Conclusion
At the end, we can say that QuickBooks Install Diagnostic tool is a valuable and easy to use software. In case you have any question related to this tool or you are unable to fix any QB related issue, you can contact our 24×7 QuickBooks Premier Support team at +1-844-239-3583 and speak to our certified technicians.
