Being a QuickBooks user, you might have at least once heard about QuickBooks connection diagnostic tool. Though, QuickBooks is one of the finest accounting software, but at the same time there are certain errors that the user might encounter. In order to resolve a few of these errors, the users are recommended to use QuickBooks connection diagnostic tool. This amazing tool helps the user in settling the issues considering common company file corruption and network issues. This tool helps the user in diagnosing and fixing various errors. Many QB users are still unaware with this amazing tool and its features. Thus, in today’s post, we are going to discuss the facts related to QuickBooks connection diagnostic tool. Reading this post, will inform you regarding connection diagnostic tool and its features.
Moreover, you can also get in touch with our QuickBooks premier support team for any further information or query. You can simply call us at our toll-free number i.e. +1-844-539-0188, and our team will provide you with the finest services.
Read Also: How to Fix QuickBooks validation code error?
What is QuickBooks connection diagnostic tool?
See it also: How to Fix QuickBooks Error Code 1328?
QuickBooks connection diagnostic tool is designed and developed by Intuit and with an aim to diagnose and get rid of the bugs and error that occur somehow during QuickBooks usage. The errors that can be rectified by QB connection diagnostic tool are as follows:
- Access denied to QuickBooks database
- Poor configuration of ports in windows firewall
- Error pop ups like 6150, 6000-82, 6130, 6147, etc.
- Empty vendor lists
- Empty customer lists
- Employee lists are blank
- H series error
- Multiuser QuickBooks errs
- Damaged company file, or company file is not opening
- QuickBooks error code 1402
- Error code 1603
- QuickBooks error 1722
- QuickBooks error 1712
- System registry containing damaged files.
You may also like: How to Resolve QuickBooks Error Code 77?
Compatibility of QuickBooks connection diagnostic tool
The point to be noted is that this tool is compatible only with the Microsoft windows 7, windows vista, or windows XP with QuickBooks 2008 and later versions. Also this tool compatible with QuickBooks enterprise solutions 8.0 or later versions.
Advantages of using QuickBooks connection diagnostic tool
QuickBooks connection diagnostic tool comes up with numerous benefits, as listed below:
- Diagnose various QuickBooks errors that can be seen at the time of installing QuickBooks software
- This tool helps in resolving countless errors faced by QB error in the best possible way
- This tool also decreases the fixing time of issues and saves a lot of time and efforts.
- It helps to resolve Unexpected errors and multi-user errors in QuickBooks desktop.
- It fixes issues where employees make certain entries that don’t get updated on the QuickBooks.
Steps to download QuickBooks connection diagnostic tool
Following are the quick steps to download QuickBooks connection diagnostic tool:
- To begin with, the user should click on the official download link QuickBooks connection diagnostic tool from Intuit.
- And then save the file in the system.
- Followed by opening the installer that has been named as QBInstall_tool_vs.exe.
- The user is then required to shut down the running programs in the background.
- Moving ahead, the user is required click on QBInstall_tool_vs.exe and then it will begin with the installation.
- Once done with that the user needs to restart the program.
- Also make sure to have a good internet connection.
- Also, close all the background applications.
- At the end of the process, software will eradicate all the errors that are being generated in the system.
See this also: How to fix QuickBooks POS Error Code 1706?
Steps to install QuickBooks connection diagnostic tool
In order to install QuickBooks connection diagnostic tool follow the below given steps:
- The very first step is to ensure to remove any previously installed version of QuickBooks connection diagnostic tool on the system.
- The user is then required to download it from the OEM site and then double click icon after the process
- Moving ahead, the user is supposed to carry out the instructions throughout the installation
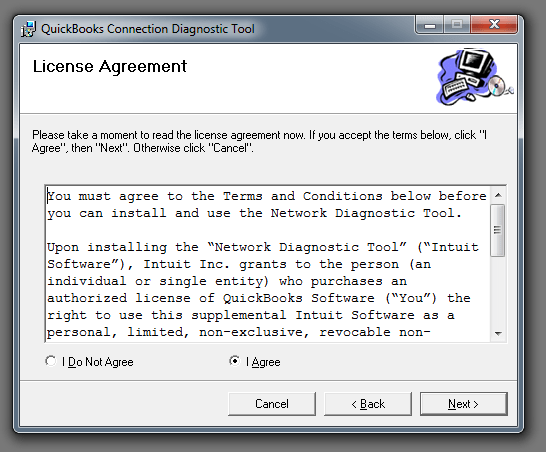
- Now choose I agree button to Accept the License agreement and hit a click on Next button
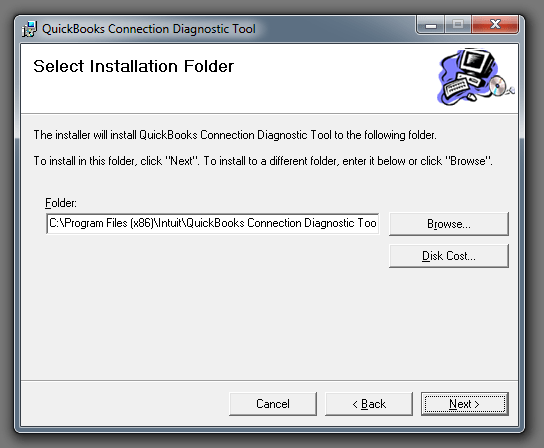
- After that choose installation folder and browse the folder location where you want to install the tool and hit a click on Next button.
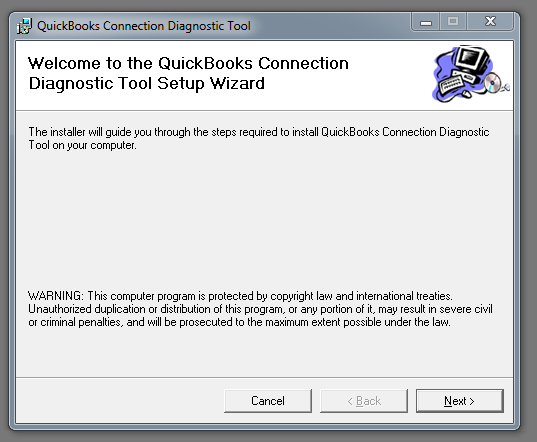
- You will get a Setup wizard screen hit a click again on Next option.
- Now, if you are a windows 10 user, then in that case the user might face some kind of difficulty while installing. Also, the user needs to ensure that .NET framework is configured properly
- After the installation process comes to an end, the application should open on its own
- The user can then click on the green QuickBooks icon on the desktop
- Now, the user will have to navigate to the directory that holds the company file the user wishes to diagnose, using the drop-down list. However, the last ten opened by the user should already be present on it.
- The user should not use the network connectivity option, in case the user is using the software as a single user, as majority of the issues might be rooted to file corruption. Moreover, the errors could also be a consequence of connectivity issues.
- Moving ahead, the user should type in the admin password when asked.
- And then select whether the user is having a host system or a workstation PC, or any other option.
- The next step is to be patient, while the QuickBooks diagnostic tool scans and repairs the company files, or identifies the connectivity issues.
You may also see: How to Troubleshoot QuickBooks Error 1904?
Steps to employ QuickBooks connection diagnostic tool
Following are the easy steps to use the QuickBooks connection diagnostic tool to fix install errors:
- First of all, click on the QuickBooks icon
- And then do no open the corrupted file
- After that click on the Utilities option and then Repair file option

- Followed by clicking on network problems
- Now, the user should hit Yes on the message, in order to collect the personal information related to QuickBooks and QuickBooks data. In case, any sort of message doesn’t appear on the screen, then in that case, the permission might be provided in advance
- Moving ahead, the user needs to visit the folder that have the company files and then look for the one which is corrupted and then hit Open option.
- After that click on the Show advanced settings and then a list of items in a drop down will appear on the screen.
- The next step in the process is to choose the issue that relates with the current trouble
- Once done with that, the user will have to enter the QuickBooks login ID and password and ensure to use the right credentials.
- And then, select the QuickBooks connection diagnostic tool and you are good to go.
When the user witnesses the file open status as successful on the server, the user will have to repeat the steps 1 to 5 on each of the client system having QuickBooks.
See Also: How to Resolve QuickBooks Error 6000?
How to make the best use of the QuickBooks connection diagnostic tool?
The QuickBooks users are required to download and extract the QuickBooks connection diagnostic tool. And then, run it by double clicking the icon. The user is also required to carry out the troubleshooting steps enumerated below:
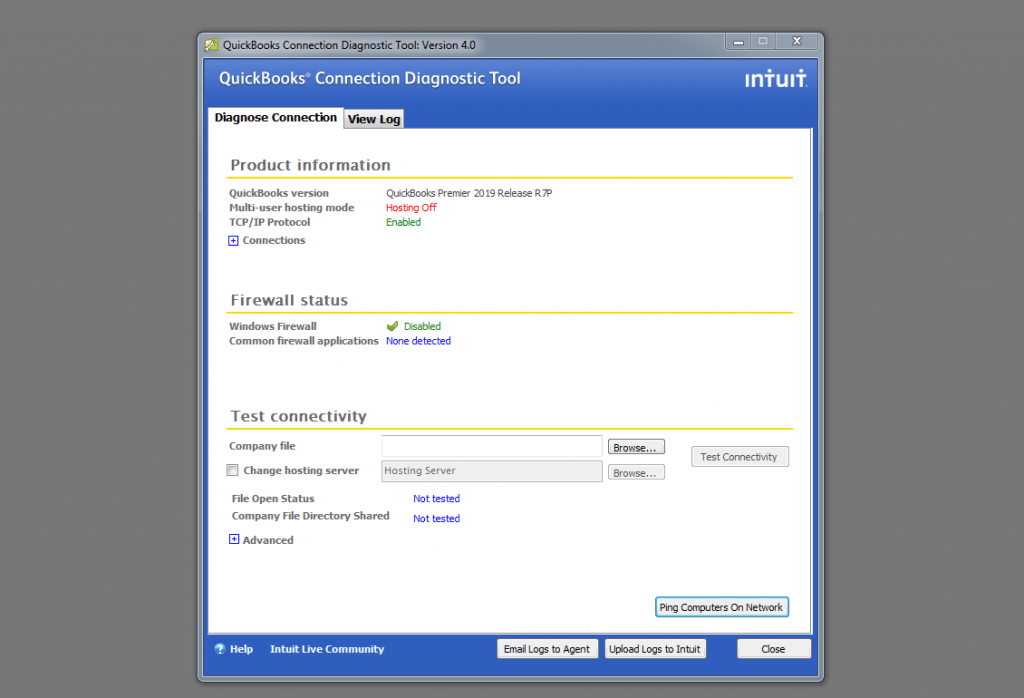
Diagnosing connection tab
This tab basically helps the user in testing the system setup, to make sure that the company file is accessible from a workstation. It can be done for both singe user or multi user modes. In case the permissions aren’t set a proper manner, or if the firewalls or ports are blocked, the user might encounter the error.
Firewall status
The basic information about the firewall is displayed in this firewall status tab.
Test connectivity
Now comes the test connectivity area, which lets the user to test the system’s connectivity, which can be done by the steps below:
- The first step can be to click the tab next to the company file field, in order to spot the company file.
- And then, this step is for only Linux systems, in case the network setup is in alternate mode, the user should select the change hosting server checkbox.
- The user should note that the before running the connectivity test, all statuses should be indicating not applicable in blue color.
- Now, after the tests are completed, the statuses will turn into green or red according to the situation
- Followed by clicking on to the test connectivity tab, in order to test all five statuses at the same time.
- In case the file open status appears in red, it would indicate that the test failed, and this will open up the advanced section, which will expand to display all areas that were checked. The user is supposed to click on the what do these mean? The user can also click on the Interpreting the connectivity results link to see the information.
After fixing the appropriate statuses, the user is supposed to run the tool again.
Read this also: Methods to resolve QuickBooks error 1722?
Wrapping-up!
With this we come to the end of this post, and we have tried to provide almost all the information related to QuickBooks connection diagnostic tool. However, if you are facing any kind of difficulty in accessing this tool or if you are having any query, then feel free to call us at our toll-free number i.e. +1-844-539-0188, and contact our QuickBooks support team. Our experts and certified QuickBooks professionals will be happy to help you and will clear all your clouds of confusion.
We are a hub of tech savvy QB professionals who work round the clock to provide the best possible support services that too in a single call.